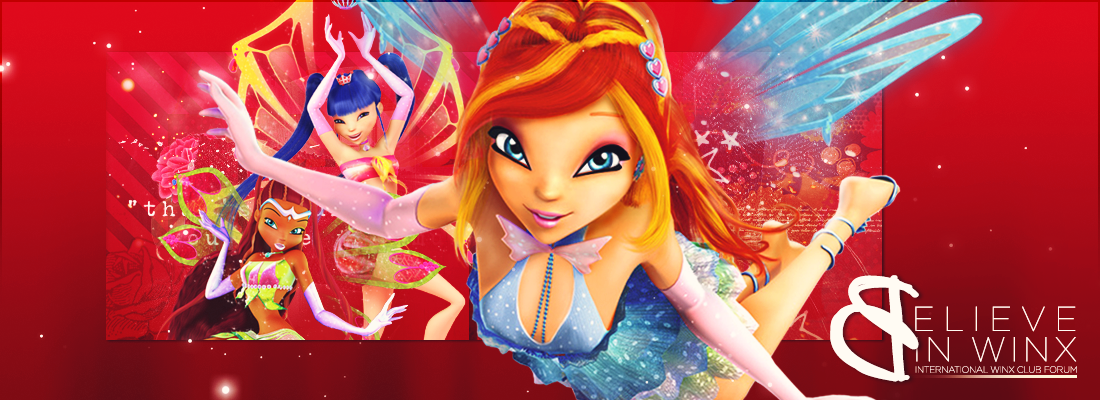
|
| The RP Season |
Season: Autumn
Month: October
Day: 28th
Year: 2016
|
| Bookmark the forum |

|
| MAGIC SPOTLIGHT |
CONGRATULATIONS to these two BelieveInWinx members for becoming Contest Winners on the forum contest, Melodic Inspiration!!
- ELEIYA LILUM
- VARDA ELENTARI
|
| Staff Team |
ADMINISTRATORS
 SUPER MODERATORS SUPER MODERATORS
 MODERATORS MODERATORS    RP MODERATORS RP MODERATORS  
|
| Statistics | We have 7398 registered users
The newest registered user is Inaaya
Our users have posted a total of 222731 messages in 5649 subjects
|
| Top posting users this month | |
| Search found 1 match for 5 | | Author | Message |
|---|
 Topic: *~*Nessa's Winx Art Tutorials*~* Topic: *~*Nessa's Winx Art Tutorials*~* | Winxisawesome
Replies: 47
Views: 7452
| Search in: Fan Corner  Subject: *~*Nessa's Winx Art Tutorials*~* Subject: *~*Nessa's Winx Art Tutorials*~*  Mon Jan 04, 2016 5:08 am Mon Jan 04, 2016 5:08 am | Tutorial #5: *Blurred* Signature
LEVEL: EASY/MEDIUM
Final Product:

So I'm back with another tutorial. This one contains techniques that I've already used, with some new ones. There's a few other techniques I'd like to show, so I might do some mini tutorials soon. Anyway, let's get on with it!
Step One:
Open a new canvas, File>New, with the dimensions of 600x320. Of course, it can be any dimensions you like but those are the ones I used.
Step Two:
Choose your background.
This is the one I used:

Step Three:
Make a new layer (Layer>New>Layer). Using the Selection Tool, take a selection of the middle third of the picture.
- Reminder of how to do it:
Then go to Edit>Stroke. I used white as the colour, and make the width about 3-4px. Now go to 'Blending Options' and change the mode to 'Overlay'.
Step Four:
Paste in your Winx girl(s).
NOTE: when I resize the Winx PNG's, Ctrl+T is the shortcut to show the transform controls. Always have the aspect ratio locked as well!
Step Five:
Duplicate the layer of your Winx girl. Go to Filter>Blur>Motion Blur. Put the Angle on 40 degrees and the distance on 20 (or something of your choice). Put this layer behind the Winx girl.
Step Six:
Paste in the full sized Winx girl(s) again. Make it so that it's slightly bigger than the original; make sure it roughly takes up about a third of the whole image. Take the Selection Tool and make a selection that starts from the frame you made in Step Three and press 'Delete'. It should now look like it only takes up the right/left third of the image.
- Spoiler:
To (try to) clarify: 
Step Seven:
Still on the same layer, go to Filter>Blur>Blur More and set the radius to 1. Try different settings and 'Blurs' if it doesn't work for you. I used the 'Normal' blending mode with the opacity set to 90%.
If you're using more than one Winx girl, repeat Steps 5-7 with your second Winx girl.
Step Eight:
Add a texture.
I used this one:

- Full image here:
 I honestly use this one so much...
Go to 'Blending Options' and change the mode to 'Screen' with an opacity of 100%.
Step Nine (optional):
Add text of some sort.
To do mine, I just had dark grey text with a white drop shadow and put it underneath the previous layer. Because of the colours in the texture, the text turned out like that. If you rasterize the layer, you can use the eraser tool to erase parts of the text to make it look like Bloom's hand was over the top of it.
If you've got any questions, feel free to ask 
I hope that was clear enough. I'll have some mini tutorials coming up soon 
|  | |
| |
|